Instructions for Heavy Duty Hand Press Machine
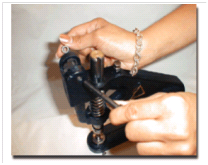
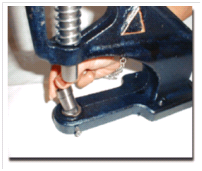
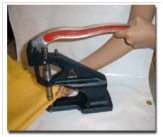
Step 1: Unscrew the nut at the top of the machine.
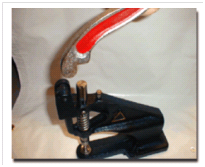
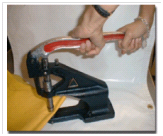
Step 2: Insert the handle with the larger side at the top of the machine.
Step 3: Insert the bolt through the machine and handle. Then tighten bolt with the nut.
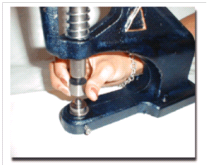
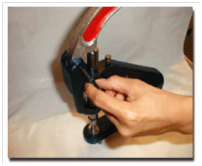
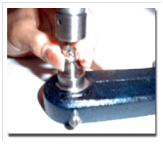
Step 4: Insert the larger of the die pieces into the hole at the bottom of the machine. Hold the die in place by tightening the side screw.
Step 5: Screw the smaller of the die pieces directly above the larger die.
Tip: Do not over-tighten.
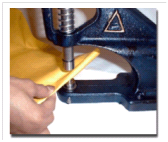
Helpful tips: Use press machine on a firm, flat surface only. You may wish to bolt the machine to workspace or desk by using the openings on the base. The setting screw sets the tension for this press. You can set the force by adjusting this screw. Test softer material like foam board or the like to prevent crushing of the board.
Using the Press:
The presses from Goldstartool.com are equipped with a threaded hole at the top and a non-threaded hole at the bottom. If you're confused about which die goes where, start with looking for the threaded die and the die that "drops in."
Check the alignment of the top & bottom dies. When holding the handle down so that the top die sits directly on top of the bottom die, both dies should be perfectly centered with each other. You should lubricate the spring and threads that hold the dies periodically with WD40 or other type of machine oil/lubricant. If you notice some difficulty in attaching the dies to the press or in removing them, please do not continue to force the dies in as they will eventually get stuck. At the first sign of difficulty, lubricate the dies as well as the hole in the press where the dies go so that the dies slip in and out smoothly.
Problems can be due to user error, improper settings on the press, insufficient fabric (fabric too thin or too thick), or the inappropriately sized snaps being used (length of the prong is too long or too short for your fabric). Please practice on scrap fabric!
How to Set a Grommet
Please note: The below photos depict a standard press with standard grommet dies. Our newer grommet dies are spring loaded and are done the same way, except the grommet snaps into the top die and the washer goes on the bottom.
Step 1: Place the grommet on the bottom die
Step 2: Place the material on top of the bottom die.

Step 3: Place the washer on the material
Step 4: Depress the handle lightly until the top die is touching the washer.
Step 5: Holding the handle at that level, align the material in position to set the grommet.
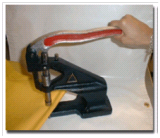
Step 6: Using both hands, completely depress the handle.
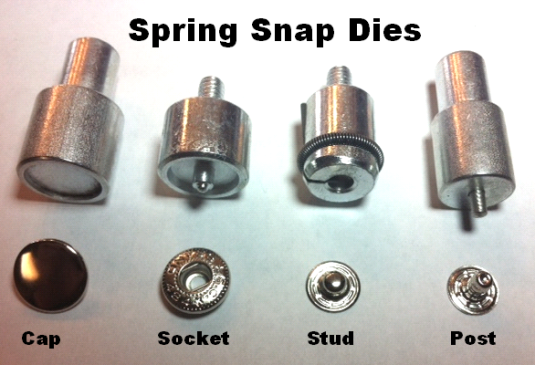
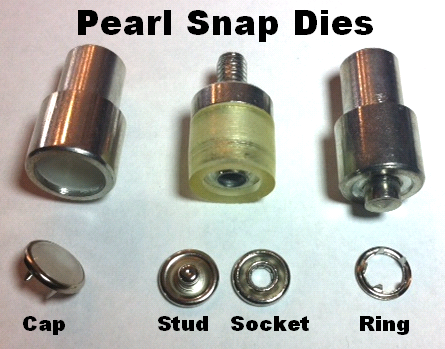
How to Set Metal Snaps (ring snaps, spring snaps, prong snaps, pearl snaps and more)
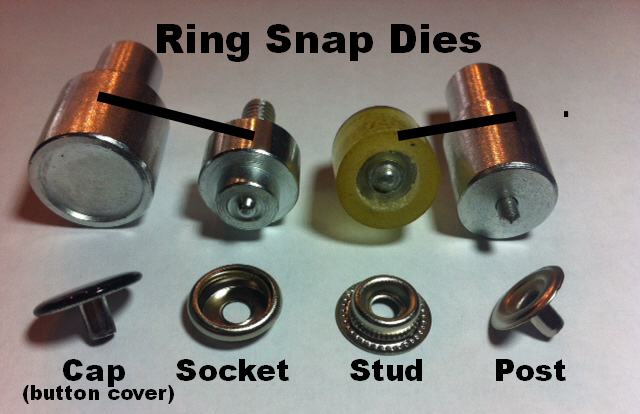
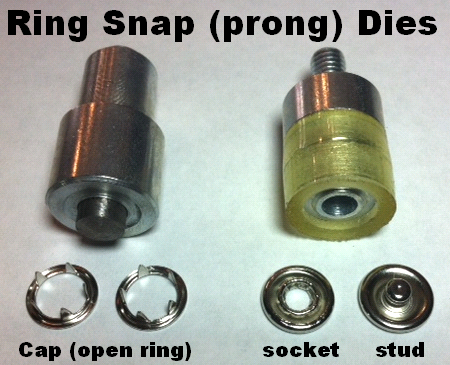
Before you you try setting snaps in your press, familiarize yourself with the parts of the snap, as depicted in the photos below. While your snaps may look a little different, (i.e. open ring prong snaps vs. double cap spring snaps), the parts are still the same and fit the same accompanying dies. If you've ordered a die that has more than two pieces, know that you will need to swap out one or both.
The cap and post dies (which have a wider base) "drop in" the bottom of the press, while the socket and stud dies screw into the top. Please note that for 4 piece "spring snaps" and the 4 piece "ring snaps", the cap installs with the socket and the post installs with the stud. Here are pictures of each part for your reference. The stud (male) is the part that clicks into the socket (female) when the snap is closed.
Removing Metal Snaps:
Open-Ring Snaps: Anything with a very flat head, such as small sewing or cuticle scissors, can be placed under the ring of the cap (between the ring and the fabric). With a little back and forth leveraging, you can raise part of the ring until it detaches from the socket or stud.
Spring Snaps: It is more tricky to remove these types of snaps. The easiest way to do it is to use a drill with a bit that is about as narrow as the prong. Slowly drill against the center of the snap on the underside of the cap until you can pull the pieces apart.


