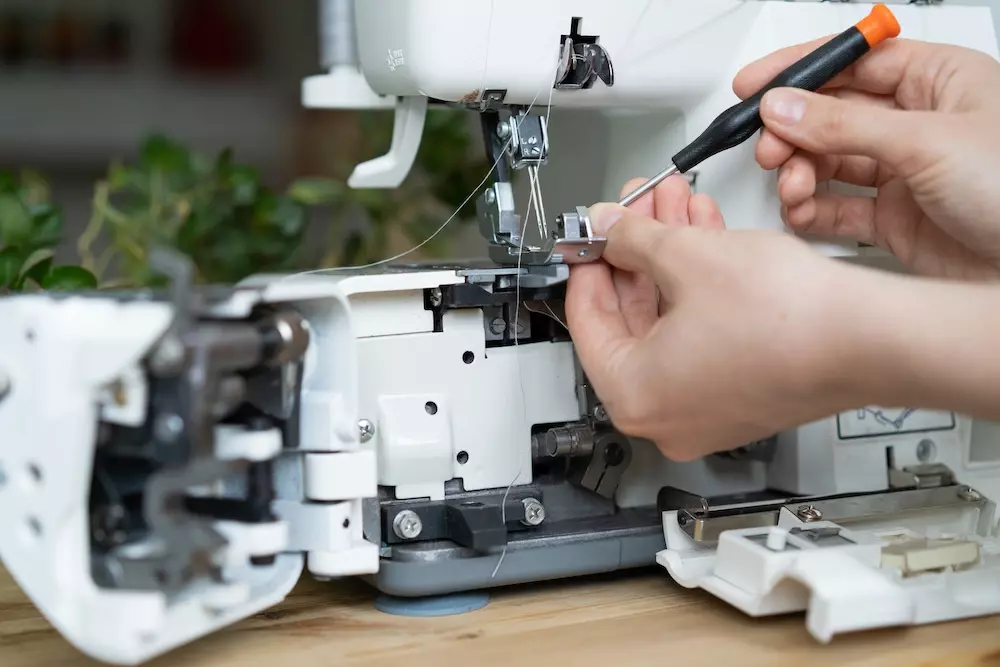
Tips to Maintain and Repair Your Juki Sewing Machine
2023-05-16
Juki sewing machines are a high-quality, long-lasting option for many different types of sewists. Whether you’re more of a DIY sewist who uses light fabrics for short periods of time or a professional sewist who works with all kinds of fabrics for hours on end, you can find the perfect Juki machine to suit your needs.
It doesn’t matter how often you use your sewing machine or the types of projects you typically create: sewing machine maintenance should always be an important part of your routine. And if something on your sewing machine needs to be repaired, waiting to do so could result in even more issues. That’s another reason that repairs should be made right away.
Are you wondering how to best take care of your Juki sewing machine? Hiring a sewing machine repair professional can be expensive, which is why performing basic maintenance tasks and learning how to do a few repairs yourself could be helpful.
Here are some of the most typical fixes that Juki sewing machine users need to perform on their machines in order to make sure it functions properly.
Changing the Needle on a Juki Sewing Machine
If you’re having issues with your Juki sewing machine’s stitching, the solution may be as simple as changing out the current needle for a new one. Needles can become dull over time, especially with heavy use. This can lead to poor-quality stitches or even stalling in your machine during the sewing process.
Make sure to follow your Juki sewing machine’s manual before you begin changing the needle. However, for most machines, the needle can be loosened from its place using a screwdriver without re-timing the hook. From there, you can simply place the new needle where the old needle was and twist it into position while pushing upward.
Fixing the Bobbin Winder on a Juki Sewing Machine
A functioning bobbin winder is crucial for any sewing project. One of the most common causes of a bobbin winder malfunction is improper lubrication. To check if your bobbin winder is lubricated, try turning it with your fingers. If it’s not turning easily, a lack of lubrication is likely causing the issue. However, if it turns too easily or even too quickly, the problem may be more complex.
One thing you can try is to remove the bobbin and push a flathead screw into the beveled edge where the bobbin screws in. This should help stabilize the mechanism and allow your bobbin to spin at a normal speed — rather than too fast — and ensure proper stitching.
Re-Timing the Hook on a Juki Sewing Machine
Re-timing the hook is an important part of Juki sewing machine maintenance. However, it’s important to note that you should check for other simple fixes before you take this more time-consuming and arduous step.
If you do decide to re-time the hook, begin by removing the plate covers, bobbin case, and switch plate. Leave the needle you’re currently using in the machine, and make sure that it’s still threaded. Then, carefully crank the hand wheel to make sure that your machine’s shuttle hook is catching the thread smoothly. If this isn’t happening, you’ll know that the timing needs to be changed.
Make sure to refer to your specific machine’s user manual throughout the hook re-timing process. Likely, what you’ll have to do next is gently loosen the needle bar and look for timing marks on your machine by sliding it up and down and checking carefully. For machines without timing marks, you’ll have to lower the needle fully before you raise it all the way.
Move the needle bar to its lowest position once the eye is 3/32 underneath the shuttle hook. Now, the machine’s gears will be loosened at the base, and you can make adjustments until the hook and needle have a distance between them of between 0.01 and 0.16 inches. Your machine’s manual will say exactly what the spacing should be.
Shop Juki Sewing Machines, Accessories, and More at GoldStar Tool
Looking for your next Juki sewing machine? You can find a variety of Juki sewing machine models, parts, accessories, and so much more at GoldStar Tool. Additionally, we’ve got your next DIY sewing machine project ready for you to explore with your Juki machine.


