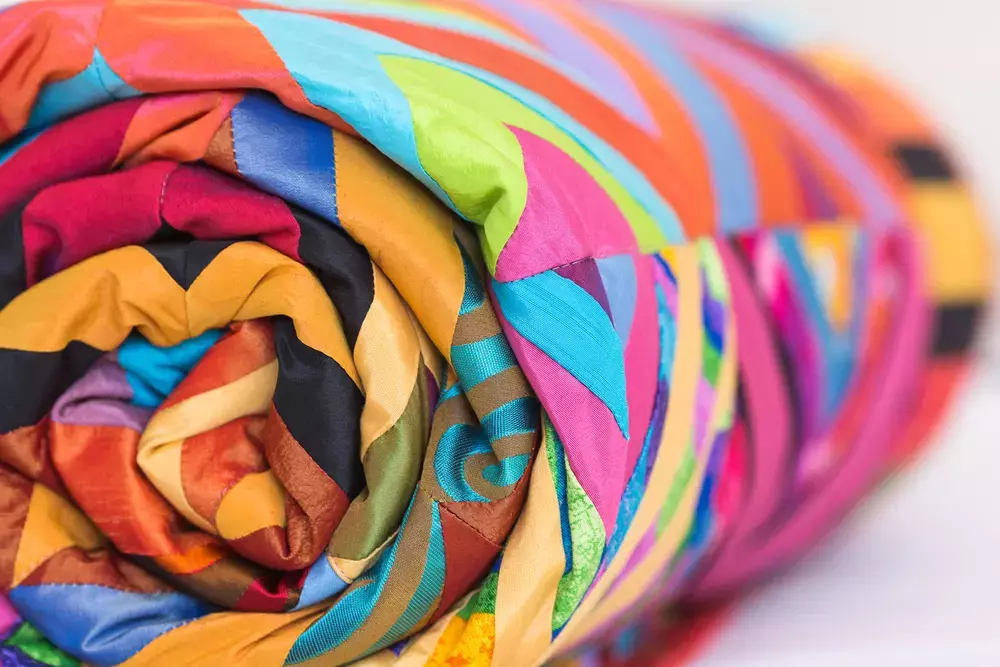
Making a Triangular Ombre Quilt
2020-10-07
Who else is excited that geometric patterns are making a comeback? Because this was the size of a baby quilt, it shouldn't take too long, but clothes tend to stretch themselves over a few weeks. We are also using a larger size two triangles, so you get that fast feeling of reward and seeing it come together pretty quickly. This is a great project to start quilting on. If it seems like too much at first, consider a strip quilt.
What will you need? These materials:
- 1/2-yard for 6 different fabrics
- 1 black (or dark version of your chosen color)
- 1 dark shade of chosen color
- 1 mid-shade of chosen color
- 1 light shade of chosen color
- 1 white or light grey
- 1 1/2-yard backing fabric
- 1 1/2-yard batting
- Binding tape in a complementary color
- Triangle template (Simply sketch a triangle that is 5 ¾-inch across the bottom and 8-inches high up the sides)
- Pattern-making materials
- Sewing machine
Overarching Guide for This Project
There are a few notes that apply throughout the entirety of this project. First is that when you're choosing a color, you really want one really dark shade or even black and one really light shade or white and three in between—a lot of Quilter's choose to use the extremes as an opportunity for patterns. For example, you might choose a solid black and a light gray, and then three different shades of blue that have slight or subtle patterns. Alternatively, you might use the black and the white or light gray as the patterned material and then use solid colors for the Ombre effect.
Then when it comes to seam allowances, all seam allowances on this project are 1/4-inch. It is just one of those details to get out of the way in the beginning, so you're not constantly reading or thinking about changes in the seam allowance. It's all the same, which makes it easy breezy.
Finally, this finished field will measure 48 in by 42 in which is the standard size for a baby quilt, but you can size this up by simply adding more squares and accommodating that increase with more backing fabric and more batting.
Instructions
The great thing about this quilt is that it is a really simple design, so the instructions aren't complex. First, cut 19 triangles of each color and then take one triangle of each color and cut it directly down the center. These are going to be your side pieces.
Arrange your triangles anyway you like. Some want the full ombre effect and place them from darkest to lightest. Others will assign the colors numbers such as 1 (lightest) - 6 (darkest) and then pattern them as 1 and 6 touching, 2 and 3 touching, 4, and 5 touching. It's up to you, get creative because there's really no wrong way to pattern your triangles.
Sew triangles together to create strips. Do this by sewing triangles together from top to bottom, creating a square, then add another triangle on, and another.
When your triangles are complete, you can sandwich the batting and the backing together. Use a light thread to sew over the light-colored triangles and a dark thread to sew over the darker triangles. You only need to "quilt" it. You don't have to pattern over every triangle.
Finally, bind it, and you are done! This quilt can be used as a replacement for a comforter on a bed, or a thick blanket to put on your couch. It makes for a great gift, and if you grab a friend it can be a fun bonding experience!
If you enjoyed this tutorial, check out our other tutorials on our blog. If you have any questions on our products, feel free to contact our customer service. If you recreate one of our tutorials, tag us on Instagram! We look forward to seeing your projects!


