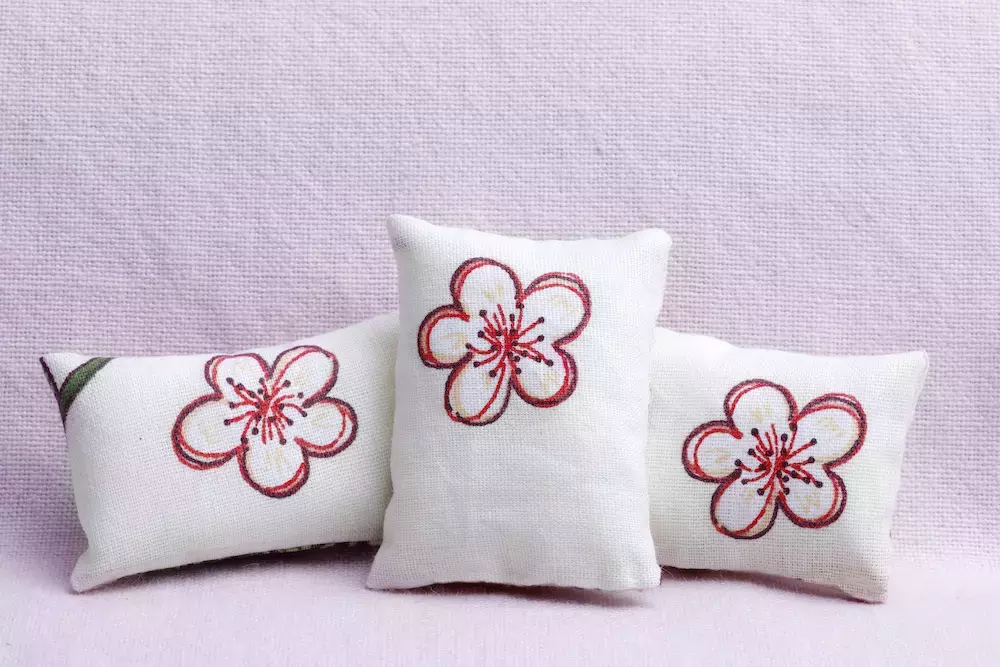
Make Your Own Pillow: Flower Edition
2021-03-30
Are you looking for a stunning and fun scrap project? Pillows are always a go-to for quick sewing projects, but they’re even better when they’re not just square, and you can burn through some of your scrap stashes. This flower pillow is adorable and has a lot of room to make it your own.
Your materials:
- 2 squares of fabric patterns, prints, or colors that fit together well.
- 5” circle piece
- 1 - 5” batting
- 1 - 18” x 18” square piece (for the back of the project).
- Polyfill for stuffing
- Sewing machine
- Sewing essentials such as a white pencil, thread, and scissors
Easy steps to make your pillow:
- Cut 2 squares for the front and the back of the pillow.
- Set the front over the back square piece and use the front as a template to cut the bottom piece.
- Embroider your flower of choice on the front piece.
- Place the front and back pieces together (right sides facing) and sew all the way around. Leave a small opening for turning.
- Take your 5-inch circle piece and trace around it onto the pillow body. Sew over your tracing line.
- Stuff the pillow with Polyfill and sew the opening closed by hand.
- Sew all around the squares, leaving a small turning opening.
- Turn the square and stitch the opening closed.
You’ve now made a stunning and well-stuffed flower pillow! These are great for couches and little girl’s bedrooms and are so fun to make!
GoldStar Tool
Finding inspiration can be a struggle at times, but here at GoldStar, we want to provide you with the best tutorials, inspiration, and education for your sewing journey! We love beginners and advanced sewers. If you try one of our super easy tutorials, show us on Instagram! We love seeing our customers’ creations. If you are having trouble with our site or would like to purchase any items in bulk, please contact us.


