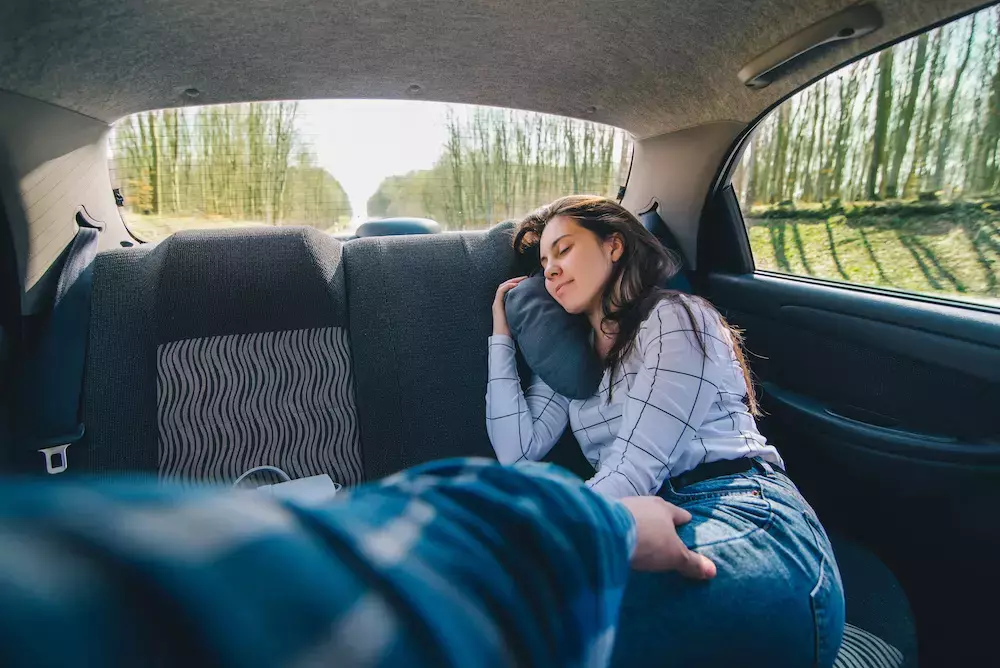
Make Your Own Car Travel Pillow
2022-01-13
Though you may be anticipating a fun road trip with your family this year, you’re likely not anticipating having restless and grumpy kids in the backseat who can’t seem to take a nap on the car ride.
Even the best sleepers have trouble getting a nap in on a bumpy or windy car ride, but with this DIY car travel pillow, you’re sure to see much more success on your next family road trip. Plus, this craft works great for adults as well as kids!
What You’ll Need
To complete this craft, you’ll need the following:
- Around one-quarter of a yard of fleece fabric
- Two strips of Velcro about 2.5 inches long
- Poly-fill or similar stuffing material
- Thread
- Your sewing machine
Now you’re ready to make your travel pillow by following the steps below.
Step-by-Step Instructions
1. To start, take your fleece and cut two 26” by 6” pieces, one 9.5” by 6” piece, and four 6.5” by 3.5” pieces.
2. The 9.5” by 6” piece will be the pocket. Turn down a 1” piece at the side and hem.
3. Fold each 6.5” by 3.5” piece in half and sew with a ¼” allowance along the seam. Sew the long end and one short end, leaving the other short end open. Trim down the seam allowance, make sure it’s right side out, and sew on the piece of Velcro. Repeat this step for all four of these pieces of fleece.
4. Lay a long piece right side up and baste the three raw edges of the pocket piece to the bottom, with the top remaining open.
5. Layer each piece of Velcro on top of each other to make two gripping pairs. Baste these approximately 4” from the short ends on the long piece’s right side. Leave roughly an inch hanging off of each side.
6. Place the two long pieces right sides together, then take your sewing machine and sew them together with a seam allowance of about ¼”. Leave an opening of about two inches to turn them right side out, stuff them completely with your stuffing material, and stitch them closed.
With the help of this handy car pillow, you’re sure to be able to keep every member of your family comfy during those long car rides. Plus, you can help your road trip sleepers avoid headaches and neck pain at the same time! Contact us at Goldstar Tool to find more ideas for DIY crafts that you can easily complete with your sewing machine.


