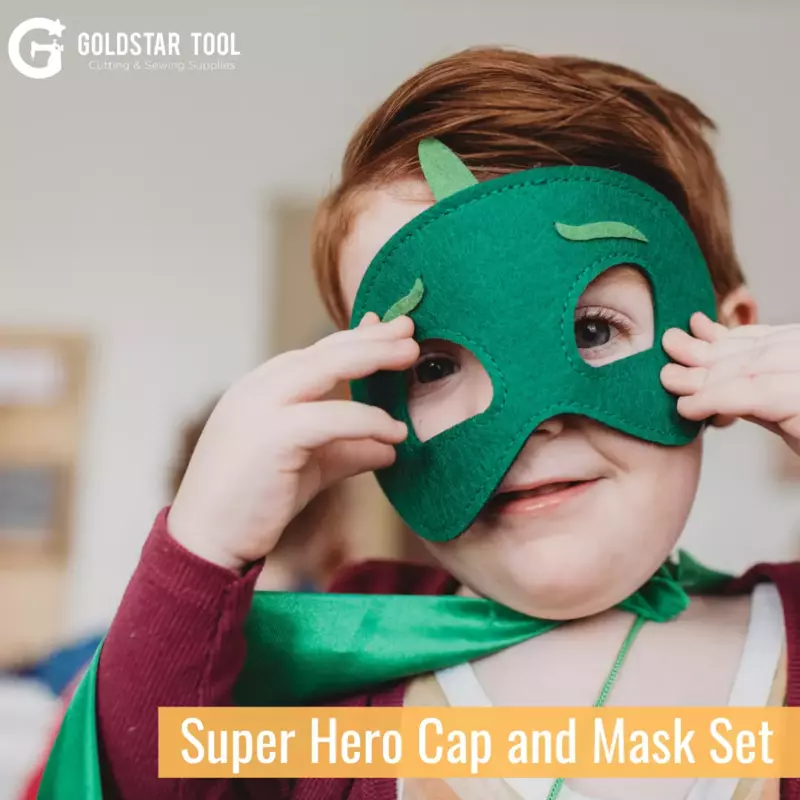
Kids Craft Series: Superhero Cape and Mask Set
2020-04-07
We all know that kids are the real heroes. They see the best in the world, and you can make your child a real superhero cape and mask to match!
You’ll need the basic sewing supplies, including:
- Measuring tape
- Hook & loop
- Thread
- An iron
- 2-yards of fabric
- 2 sheets of felt
- 1/4-inch wide elastic
Superhero Mask:
Start with your masks because they’re super easy.
- Sketch a mask template and then cut elastic that’s a 1/2-inch longer than your template.
- Cut both felt pieces to match, then pin them with the fabric tucked between the layers.
- Finally, cut out and sew around the eye holes for a reversible mask!
Superhero Cape:
- For the cape, take your fabric and cut it into two 31-inch long pieces, stack them and then fold them in half.
- With a white pencil or chalk, put a mark at 11-inches into the fabric from one end, and then 5 1/2-inches in from the other end.
- With your measuring tape, draw a line from one marked end to the other, and you should have a long, slightly angled line running across your fabric. Cut on that line.
- With a dinner-plate, put the round edge at the top of the "skinny" end of your fabric. Trace a line for the neck, and cut across that line. Give all of your corners a little rounding to take the edge off and clean it up. A rotary cutter works great for this!
- When you unfurl your fabric bundle, it should look like a cape! Sew around the edges giving the cape a nice hem and leave an opening to turn the project. Just before you turn, notch the curved seam in the neck.
- Finally, press your cape and sew the squares of hook & loop into place!
Find everything you need for your sewing and craft room at GoldStar Tool!
Did you make this? Show off your work on Facebook or tag #GoldStarCreations on Instagram for a chance to be featured on our page!


