How to Use a Seam Ripper as a Sewing Notion for Seamless Stitch Removal
2025-02-19
A seam ripper is one of the best tools in your sewing box. Designed to remove stitches quickly and precisely, this handy sewing notion is a lifesaver for correcting mistakes, altering garments, or repurposing fabric. Despite its simplicity, mastering the seam ripper can save time, save fabric, and improve your sewing skills.
We will cover everything you need to know about using a seam ripper, including its anatomy, techniques for removing stitches, and tips for keeping your tool in good condition.
What is a Seam Ripper?
A seam ripper is a small handheld tool for removing stitches. It has the following parts:
- Handle: For a comfortable grip.
- Shaft: Connects the handle to the business end of the seam ripper.
- Forked End: The working end of the tool with two prongs:
- One prong is pointed for piercing stitches.
- The other prong is rounded to prevent fabric damage.
- Blade: The sharp edge between the prongs that cuts the thread cleanly.
- Safety Ball: On the rounded prong to prevent fabric from getting cut.
Why is a Seam Ripper Important?
1. Accurate Stitch Removal
The blade and pointed prong allow for precision in removing unwanted stitches without damaging the fabric.
2. Versatility
A seam ripper can do everything from opening buttonholes to removing basting stitches or embroidery mistakes.
3. Fabric Preservation
Unlike scissors, a seam ripper minimizes the risk of cutting through fabric, making it a safer option for delicate fabrics.
How to Use a Seam Ripper
1. Identify the Seam or Stitch to Remove
Look at the seam or stitches you want to remove. For most projects, it’s easier to work from the wrong side of the fabric where the bobbin thread is visible.
2. Position the Seam Ripper
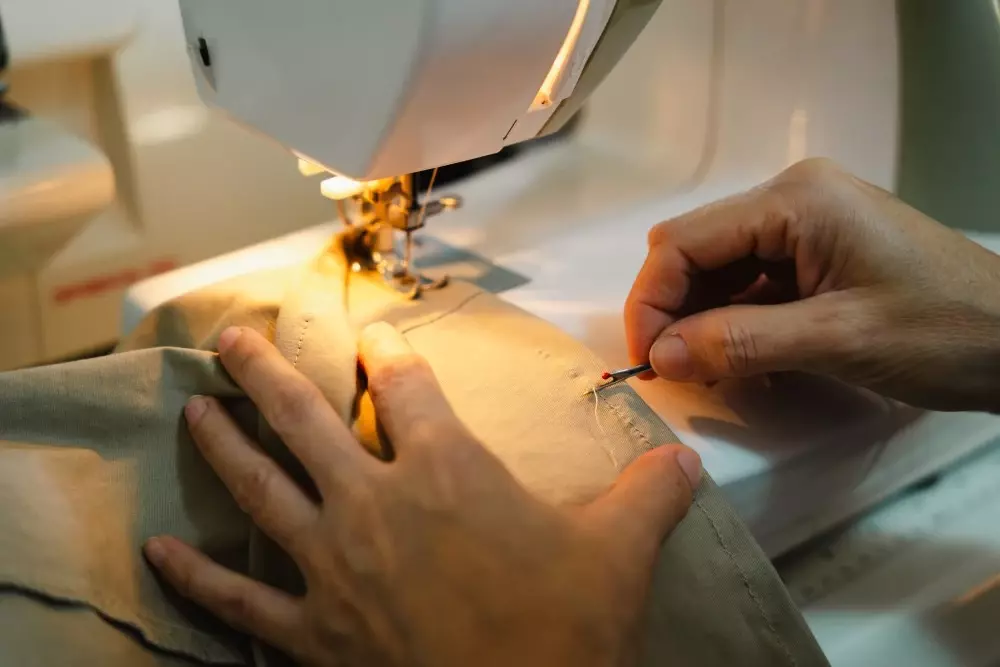
Hold the seam ripper like a pencil with a comfortable grip. Insert the pointed prong under a stitch, aiming for the thread without piercing the fabric.
3. Cut Through the Stitch
Gently push the blade through the thread. The stitch will break. Repeat this process along the seam; spacing cuts every few stitches.
4. Remove Loose Threads
Once you have cut enough stitches, gently pull the loose threads away from the fabric. Use the forked end of the seam ripper to lift any remaining threads.
5. Clean Up
Use a lint roller or your fingers to remove thread fragments from the fabric. Make sure the seam is clear before re-sewing or altering.
Advanced Techniques
1. Removing Long Seams Quickly
Place the rounded prong (with the safety ball) under the seam and slide the seam ripper along the stitches for longer seams. The blade will cut through multiple threads in one smooth motion.
2. Fixing Embroidery Errors
Use the seam ripper to cut through the backside of embroidered stitches. Work in small sections to avoid tearing the fabric.
3. Opening Buttonholes
Seam rippers are perfect for opening stitched buttonholes. Insert the pointed prong into the buttonhole and cut carefully along the length.
Tips for Seam Ripper Maintenance
- Keep It Sharp: Replace your seam ripper if the blade becomes dull, a sharp blade is crucial for clean stitch removal.
- Store Safely: Protect the pointed prong and blade by storing the tool with its cap on or in a designated sewing kit.
- Clean Regularly: Remove lint and threads from the blade to maintain its performance.
Common Mistakes to Avoid
1. Using Too Much Force
Excessive pressure can cause fabric tears. Let the sharp blade do the work.
2. Ignoring the Safety Ball
Make sure the rounded prong with the safety ball is facing the fabric to minimize the risk of cutting it.
3. Rushing Through
Take your time, especially when working with delicate fabrics or intricate stitching.
Creative Uses for a Seam Ripper
- Upcycling Projects: Remove seams from old clothing to repurpose fabric for new creations.
- Pattern Adjustments: Seam rippers make it easy to take apart garments for resizing or tailoring.
- Crafting Repairs: Use the tool to remove stitches from quilts or other fabric crafts for seamless repairs.
Shop at GoldStar Tool Today
A seam ripper can correct mistakes, save fabric, and elevate your sewing. With a little practice and TLC, this tool will become your go-to sewing notion. Shop at GoldStar Tool today!


