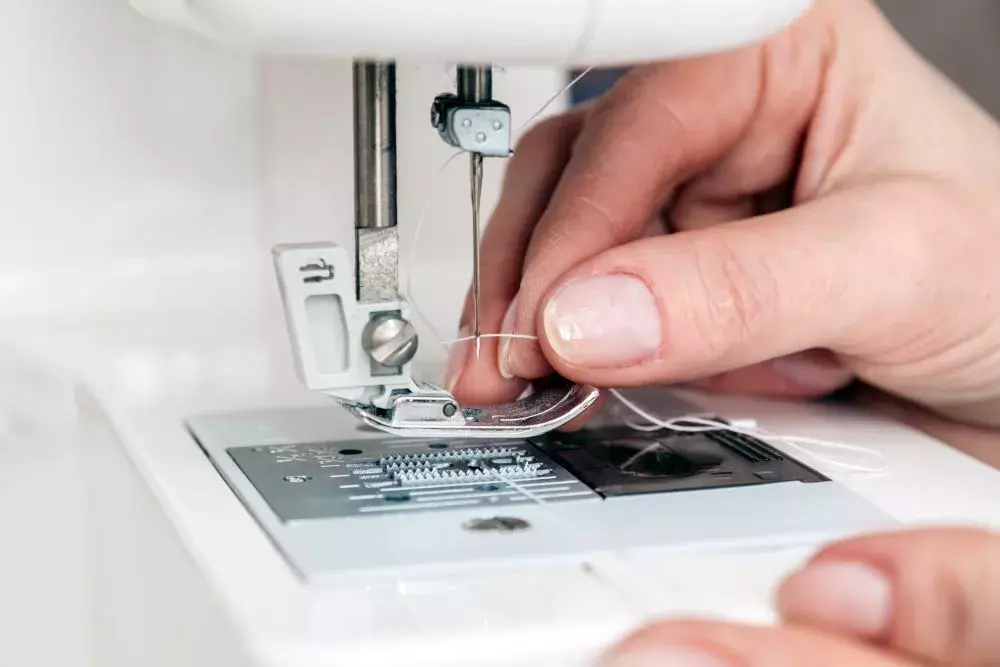
How to Thread a Singer Sewing Machine
2023-06-20
If you’ve never threaded your Singer sewing machine before, you might be feeling a bit intimidated by the task. Luckily, this important part of the sewing process doesn’t have to be difficult as long as you have the right guidance.
Take a look at this step-by-step process to threading your Singer sewing machine, and with a bit of dedicated practice, you’ll be a threading pro in no time.
Step-by-Step Guide to Threading a Singer Sewing Machine
Threading your Singer sewing machine correctly is crucial in order to have success with your sewing projects. Incorrect threading can lead to improper stitching or damage to your machine. Additionally, having to rethread your sewing machine after skipping a step or doing it improperly can waste valuable time.
Follow these steps to properly thread your Singer sewing machine:
Wind the Bobbin
Winding the bobbin is the first step of the process. The bobbin will be found on the top of your machine. Make sure your bobbin is compatible with your Singer sewing machine.
Wrap Thread Around the Spool Pin
Next, you’ll take your spool pin and set your thread onto it. Horizontal spool pins will need a spool cap set on top to prevent the spool from disconnecting during sewing. Pull the end of your thread through your machine’s first thread guide.
Wind Thread Around the Tension Disc
Once most of your thread is on the spool pin, you’ll take the end of your thread and run it around the tension disc counterclockwise. The thread should rest in between your machine’s tension discs.
Pull Thread Through the Bobbin Top
Now that the thread is firmly placed between the tension discs pull the end of your thread through your bobbin top. The top will look like a small circle within the hole at the top of the bobbin. Then, you’ll pop the bobbin firmly into place on your Singer sewing machine’s bobbin spindle.
Holding the end of your thread, push your bobbin spindle slightly to the right, and start up your machine. This will cause the thread to wind around your bobbin a few times. After this step, you won’t have to hold the end of the thread any longer.
Press the Pedal to Wind the Bobbin
Press your pedal to finish winding your bobbin. You’ll watch it spin and collect the thread. Once it’s almost full, it will slow and stop automatically. Push your bobbin spool to the left, cut the thread’s end, and remove your bobbin from the spool pin.
Insert the Wound Bobbin into Your Sewing Machine
It’s finally time to insert your fully wound bobbin into your machine. Depending on what model of Singer sewing machine you have, the bobbin will be inserted in different places. However, for all machines, you should start this part of the process by powering off your machine and raising your needle up to the highest position.
Front-Load vs. Top-Load Bobbins
Loading your wound bobbin into your Singer sewing machine is likely one of the trickiest parts of the process, especially if you have a front-load model.
Front-load bobbins are generally more challenging to install than top-load bobbins, which are easier for beginners to use. If you’re shopping for a Singer sewing machine for the first time, choosing a model with a top-load bobbin is recommended.
Ensure you follow your sewing machine’s specific instructions as you go through this process. If you incorrectly load your bobbin, your sewing machine may be unable to apply stitches to fabric correctly.
Automatic vs. Manual Needle Threading
Another feature of Singer sewing machines is the choice between automatic needle threading or manual needle threading.
Having a machine that threads the needle automatically once you’ve loaded in your thread on the bobbin can be very convenient and is a great choice for advanced sewists.
However, getting the hang of setting up this feature can be tricky. In many cases, manually threading the needle might be the simpler and more attainable option for beginners.
All Your Singer Sewing Machine Accessories in One Place at GoldStar Tool
Singer sewing machines are some of the most reliable machines on the market. Pick up all your Singer accessories, DIY sewing ideas, and more at GoldStar Tool today.


