How to Seal a Stitch on a Sewing Machine
2022-03-29
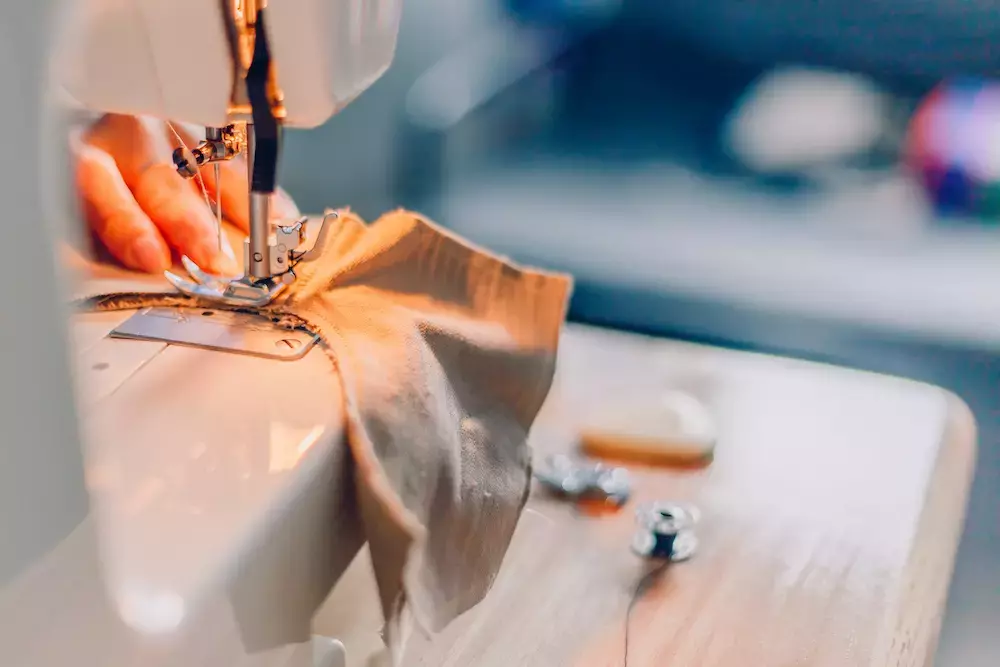
There are so many different stitches you can master on a sewing machine. However, any stitch you create will be incomplete without a seal to make sure it stays in place. Are you still getting the hang of sealing your sewing machine stitches? Here are some step-by-step instructions for sealing a stitch on a sewing machine.
Sealing a Stitch on a Sewing Machine
Before you begin sealing your stitch, it’s important to note that the process will look a bit different between hand sewing and a sewing machine. Make sure you have some experience working with your specific sewing machine model and get to know its different seam lengths so that you can plan properly for sealing stitches.
Step 1
In order to seal a stitch with your sewing machine, you’ll have to create a stitch first. You can use any type of stitch that you prefer, but the easiest stitches to work with are zigzag and straight stitching. Try practicing on scraps of fabric to get your stitching down before you place your actual sewing project under the needle.
Step 2
Once your stitch is done, put your sewing machine into reverse mode by turning the reverse dial. The location of this dial will vary depending on your model, but most reverse dials have arrows that indicate the reverse motion. Double-check that the dial is in the right position before beginning the next step.
Step 3
After the reverse dial has been turned, you will make between three and five backstitches on your seam line, which is what your machine will naturally do when stitching in the reverse mode.
If you want to make your ending stitch even stronger than the previous stitches, you can adjust the stitch length on your sewing machine. Make sure the backstitch is shorter than the original stitch; otherwise, your seam is more likely to unravel.
Step 4
Turn the reverse dial back to its original position and make one more forward stitch along the seam line. Once you're done, there should be three thread lines overlapping at the end stitch.
Then, you can carefully lift your sewing machine’s needle with the handwheel, remove the fabric, cut any loose thread from the last stitch, and press it with an iron to finish.
For even more sewing tips, crafting ideas, and supplies, contact us at GoldStar Tool.


