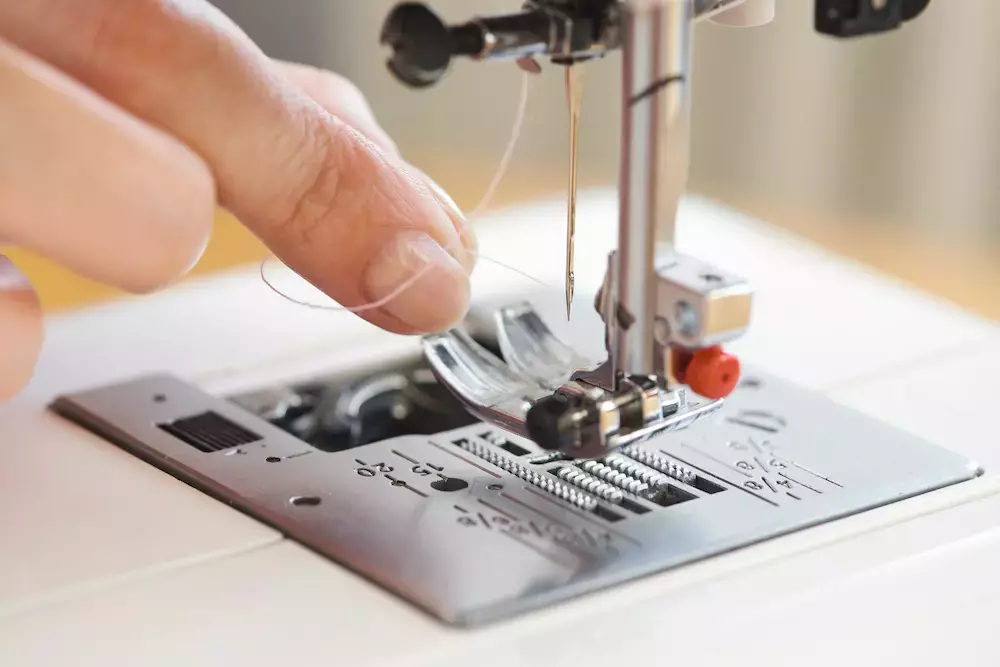
How to Properly Thread a Sewing Machine
2022-04-19
Threading a sewing machine is kind of like cooking in that they’re both about doing things in the right order. Get them correct, and you’ve got a souffle. Get them wrong, and you have a burnt, collapsed mess. Let’s give you the right order. After all, threading your sewing machine is an essential skill to get down if you want to sew!
The Spool
Located on the top of the sewing machine (in most cases), there will probably be a flat disk on the spool to keep your thread from flying off once you start sewing. Remove the disk, put on your thread, and put the disk back in place.
The Thread Guide
Pull the tail of the thread from the spool and bring it through the thread guide. Depending on what type of sewing machine you have, it could be a giant, molded plastic piece or a simple knob or post.
The Tension Knob
The next place your thread will go is around your sewing machine’s tension knob. Specifically, it needs to go through the tension disks so your tension knob can do its job.
The Second Thread Guide
Pull your thread through the take-up lever. It will be a small eyelet near the top of the machine on the same side as the tension knob. Now your thread has formed a U shape.
The Needle Hook
Now your thread will head down again as you bring it towards your needle. You may have some needle hooks meant to keep the thread going along a specific path.
The Needle
Time to thread the needle! You should route the thread from front to back through the eye.
The Bobbin
Take your wound bobbin and load it in place. Your machine will have a preference as to which direction the bobbin thread should go, and your manual will tell you the specific loading procedure, whether you have a horizontal or vertical bobbin, and whether it goes into a compartment, onto a post, or some other method. Now you’ll turn the flywheel (typically on the right side or back of the machine) counterclockwise, which will hook the top and bottom threads.
The Bobbin Thread
Pull the bobbin thread through the machine plate around the needle, then find the loop that’s being caught and pull it up.
Both Threads
Take both threads and pull them to the back. Be gentle! There shouldn’t be any catching or tension as you pull.
The Test
Okay, you’re ready for a test! Grab some scrap fabric for these first test stitches. While you’re sewing, hold the threads at the back. Again, be gentle. Make sure your foot is lowered on your fabric to keep it in place.
Get Your Sewing Supplies at Goldstar Tool
Before you can thread your sewing machine, you have to have some thread! Find everything you need for your sewing projects at Goldstar Tool!


