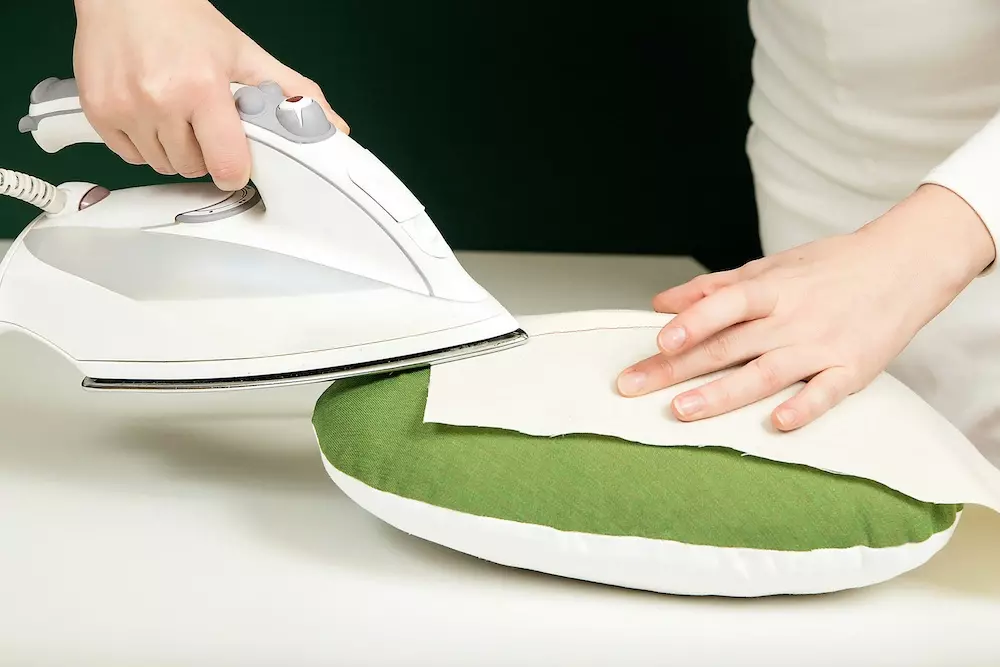
How to Make Forms for Pressing and Finishing
2023-08-29
If you’ve ever wondered how garments end up looking right, it’s because there’s so much more to creating a quality piece of clothing than just assembling pieces of cloth in a certain order. You need to press the clothing to ensure smooth seams and clothes that properly shape the body.
Using forms, you can shape your clothes exactly how you need to at every step of the process. Need to create a deep curve? Should it be shallower? Longer? Whatever the case, the right forms help you do it! The question is, how can you create your own forms for pressing and finishing?
Crafting Forms for Sewing
Yes, you can purchase forms; some companies make them. But where’s the fun in that? Making your own is part of the appeal for those who enjoy making clothes! Here are the important aspects of a good form.
The Cover
The fabric you use for your cover should be smooth so that it won’t leave an impression on the garment’s fabric. It should also be heat-resistant to handle ironing and colorfast so it won’t bleed into the clothes you’re making. You can also use highly textured fabric so it won’t flatten naps.
Material choices include:
- Cotton: The softer, the better, and make sure it’s colorfast, too
- Mohair Velvet: Allows for napped fabric pressing and is gentle on clothing fabric
- Heavy Satin: Excellent for silk and satin
- Terry Cloth: Great choice when pressing lace or embroidery
Make sure you test your cover fabric to make sure it’s colorfast and heat resistant. If your fabric bleeds color after 5 minutes in water, it’s not colorfast. If it becomes burnt or stretches under an iron set on high with steam for 60 seconds, it’s not heat-resistant.
The Padding
You’ll need to have padding to cover the core, and wool is the traditional choice. Cotton and polyester are also common. Depending on your form's thickness, you may use one layer or two.
The Core
Crafted from muslin, the core is what will hold the stuffing in place.
The Stuffing
At the very center of your form is the stuffing. This must be a durable material that can handle lots of hot ironing! Typically, this is a compressible material such as sawdust or pet bedding. Avoid paper since it tends to absorb moisture, and you can end up with a moldy form.
Crafting Your Form
You may have heard of a “tailor’s ham.” This term is actually the name for a traditional pressing form. Here’s how to make yours!
Choose a Pattern
Figure out the shape and size of the form you want to create. You can get patterns for tailor’s hams and forms online.
Collect and Prepare Your Materials
Cut two pieces (or one depending on your pattern), starting with the muslin. Then, cut each piece of the cover. Cut two or four pieces of padding and trim the seam allowances. Make your darts on your cover fabric and the muslin.
Start Sewing!
Sew up your muslin core and clip the seam allowances. Leave an opening of 5 inches. Then, sew the darts for the cover and press open. Sew the gathering stitches on the ends of the cover pieces, place the right sides together, and sew, leaving the large end open. Press the seams.
Creating the Core
Stuff your muslin with the core stuffing. Pin it, then sew it.
Placing the Padding
Stretch your padding over the core and secure it with pins. Sew the padding to the core. Shape it and tape it.
Tape the Cover
Tape the wrong side of the cover’s seamline. Sew the tape to the cover’s seam allowances and turn it right side out.
Put the Cover on the Core
Make sure the cover is snug on the core! If it’s aligned and the seam allowances are flat, you can pin and sew it. Congratulations! You now have a form ready for your sewing projects!
Materials, Tools, and More at Goldstar Tool
Creating interesting projects or utilitarian garments starts with quality tools and supplies. If you’re unsure about where to start, contact Goldstar Tool! Our experts will happily walk you through exactly what you need to create the incredible garments you want.
Goldstar Tool is here for you whether you’re an experienced pro or starting your journey!


