How to Install Grommets to Tarps
2023-09-12
No matter the material, it will eventually rip or fray if it is under constant tension or has laces or ropes running through non-reinforced holes.
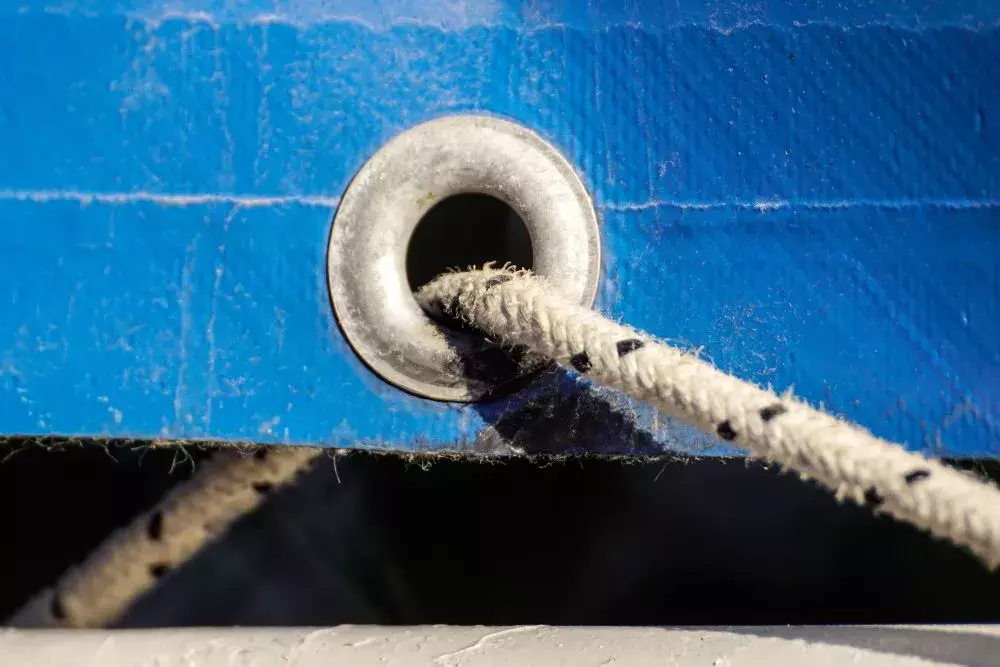
This is why grommets are essential. They provide strength by giving laces and ropes a path that won’t rub against the material. Additionally, grommets spread out the forces so that the material isn’t under as much tension.
Tarps, in particular, need grommets to maintain their structure long-term. When used for their intended purpose, tarps are under stress. They’re forced to hold large items in place under adverse conditions while relying on strategically placed holes with ropes pulling on them.
Even with reinforcement, tarps will still wear over time, and you may need to install new grommets eventually.
Essential Grommet Tools and Supplies
Tarps generally require larger grommets than those of most crafts, generally ½” or more. You’ll need to purchase the size of grommets you need, though many grommet kits come with a variety of sizes and enough grommets to finish most projects. The number of grommets the tarp requires depends on the size of the tarp.
As for the tools, you’ll need:
- A hammer
- An anvil
- A grommet setting tool of the correct size for your grommets
- A hole cutter
- A spare piece of wood
- Personal protective equipment (PPE), particularly safety goggles
You may have a grommet press or grommet pliers on hand. The grommet press will have enough force to set the grommet, but grommet pliers may have difficulty, especially with larger grommet sizes.
Preparing the Tarp
The first task is to cut a hole for your new grommets. Often, setting in new grommets doesn’t require cutting a hole, but larger-sized grommets are easier to install when they don’t have to punch through the material.
1. Mark Hole Locations
Grab a pencil, pen, or marker, and mark where you want the hole.
2. Set Up for Hole Cutting
Set the tarp on top of your spare piece of wood. Make sure to place the wood on something sturdy like a workbench or garage floor.
3. Cut the Hole
Set the hole cutter over the top of the mark and give it a solid strike with your hammer. Continue until you’ve cut a clean hole in the tarp.
Installing the Grommet
Depending on which tools you’re using for installation, the instructions are slightly different, but the overall task is the same.
1. Put the Grommet in Place
Set the washer on the bottom and the barrel on the top. If you’re installing multiple grommets, do them all the same way! It won’t affect anything structurally if some are upside down, but it will look sloppy!
2. Set the Tarp on the Anvil
Once you have your grommet prepared, set the tarp washer side down on the anvil.
3. Join the Grommet Together
Insert your grommet setting tool on top of the grommet and use your hammer to set the two pieces together. Start lightly to ensure you know how much force it takes to combine the two pieces; otherwise, you risk deforming the grommet.
Also, ensure the grommet setting tool is inserted properly and contacts the anvil’s center. If you don’t have the tool centered, you risk damaging the anvil as well as the grommet.
As mentioned, you may have other grommet setting tools and prefer using them. A grommet press or grommet pliers will work as well. And depending on the size of the press, you may not need to punch a hole first!
Other Projects
This technique isn’t just for tarps. For example, you may want to fix an old tent or an awning. This method of setting grommets also works for clothing, especially if you’re working with heavier, thicker material such as leather or canvas. Grommets can extend the lifespan of garments and other items considerably when applied correctly.
All the Materials You Need for Grommet Repairs are at GoldStar Tool
Installing grommets isn’t a difficult job as long as you have the right tools and supplies. At GoldStar Tool, you’ll find comprehensive grommet kits, hammers/setting tools/anvils, presses, pliers, and more.
If you have questions or aren’t sure which tools and supplies are right for your project, we’re happy to provide advice. Check out our selection of grommets and tools, and feel free to contact us before you buy!


