From Sketch to Stitch: The Art of Pattern Making for Sewing Enthusiasts
2024-04-10
If you’re an avid sewist, you’ve probably dabbled in creating custom garments using a sewing pattern you found online or in a book. Ready to elevate your sewing skills and bring your crafting abilities to the next level? Here’s how you can master the art of making sewing patterns by hand with pattern-making tools.
What Is a Sewing Pattern?
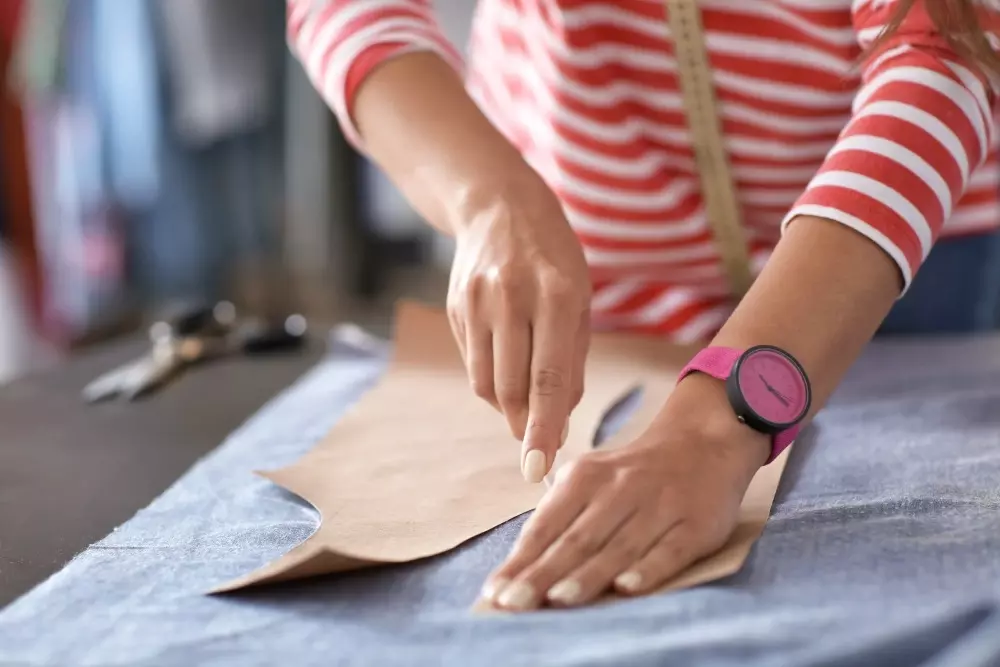
A sewing pattern can be described as the blueprint for any sewing project. This handy tool starts as a sketch and is brought to three dimensions using careful measuring and your imagination. It will guide you as you cut and shape your fabric to create a functional, well-made garment.
Sewing Pattern Details to Focus On
Before you can learn how to create a sewing pattern, it’s important to focus on the entire process that goes into it. Take a closer look at some of the most important details and functions of sewing patterns to remember as you learn and experiment.
Start With a Great Sketch
Every great sewing pattern was once a detailed sketch that outlined the garment’s intended size, length, width, and overall aesthetic. In the sketch, you create the essence of your future garment, which you will then turn into tangible fabrics with the sewing pattern.
Measure Your Lines Precisely
Sewing is an exact science that can lead to misshapen or non-functional garments if one of the steps isn’t followed.
As you bring your sketch to life with a more realistic sewing pattern that represents the garment’s actual measurements, ensure every seam line and fabric size is perfectly measured using pattern-making tools like rulers and fabric measurers.
Shape Your Garment to Achieve Your Style
The fun part begins once you’ve outlined the sizes of each piece of fabric on your garment. Now, you can add some shaping through pleats, seams, darts, and other eye-catching design elements. This will come after the essential seams have been sewn.
Grade the Pattern to Fit Multiple Sizes
While you’re creating a sewing pattern, it’s advisable to scale it up and down so that it can be used in the future to create a variety of clothing sizes. You’ll have to do some simple math to make sure that all of the exact measurements have the same ratios, just with a larger or smaller total.
Keep in mind that different materials will have different grading percentages.
Keep the Garment’s Fit in Mind
Remember to imagine your garment on yourself—or on the person you’re designing it for—throughout the entire process. This important consideration will inform the measurements you choose, the design elements you add, and how you want the garment to fall or sit on the body.
How to Make a Sewing Pattern
Once you understand more about bringing a sketch to life with a sewing pattern, you are ready to learn how to create and use it to make your garment.
Learn the Terminology
Knowing the common words and phrases associated with sewing patterns will make it easier to research and assimilate the topic into your sewing routine. Words like notch, grain line, dart placement, and seam allowance play a key role in the process.
Create a Blueprint
Draw a blueprint of your garment on a flat surface. Mark and measure each section of the garment closely to create a template for the sewing pattern.
Make Precise Markings
Don’t underestimate the importance of making accurate pattern notches and markings. These will indicate where a seam will go, button or zipper placements, and other key details.
Sew a Prototype
Many sewists use their sewing pattern to create a prototype before attempting to make their garments with the actual fabric. Muslin is a good, inexpensive material to use for this step. This essential part of the process will give you important insight into whether your measurements were correct and how the piece is fitting overall.
Don’t Forget Seam Allowances
The space left between the stitch line and the fabric’s edge is more crucial than you might think. It helps to ensure that your sewing is precise and no seams are out of place.
Unleash Your Sewing Creativity With GoldStar Tool
Are you looking for more DIY craft ideas or high-quality pattern-making tools to bring your vision to life? At GoldStar Tool, we have everything you’re looking for and more. Shop our extensive online collection today.


