Extend the Life of Your Sewing Machine With Regular Oil Changes
2023-12-19
Everything mechanical needs some sort of lubrication to function properly. Sewing machines are no different! Just as your car needs regular oil changes to ensure the moving parts in the engine continue to move smoothly, your sewing machine needs oil changes, too.
While changing the oil in your sewing machine may not be as straightforward as it is in a car, you can expect years of trouble-free operation if you keep up with the routine maintenance of tending to your sewing machine oil.
Cleaning Before Adding Sewing Machine Oil
It’s not enough to just add lubricant! Over time, lint, dust, and other particles will build up, and you’ll want to clean them out before you introduce drops of new sewing machine oil. Unplug your sewing machine and make sure to remove the:
- Thread
- Needle
- Switchplate
- Bobbin case
Also, make sure that you purchase oil specifically designed for use in sewing machines. You won’t want to use 3-in-1 oil or WD-40. These lubricants are fine for many projects, but servicing a sewing machine is not one of them.
Use a small nylon brush to sweep away the built-up particles and debris. Pay attention to tight crevices and hidden areas where lint may collect unseen. You can use a pipe cleaner to reach deep nooks and crannies.
Avoid blowing into the machine or using compressed air. When you use air to eliminate dust, you can end up pushing dust and lint farther into the machine, where they’re harder to reach. Instead, brush particles away or use a small vacuum to remove them.
Next, you can use oil to help you clean up. Adding a drop of oil to your brush can help it pick up lint and dust as you sweep it through. Clean everything, including the bobbin case, feed dogs, and other areas. Just avoid lubricating until you have completely cleaned the unit.
Adding the Sewing Machine Oil
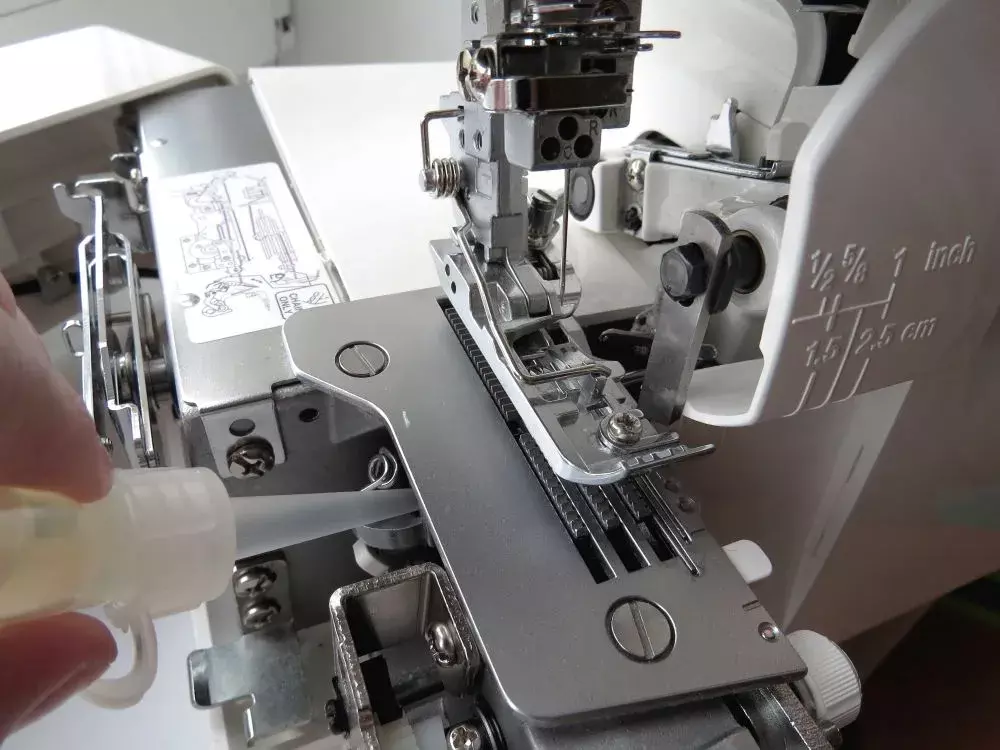
Once your machine is thoroughly clean, you can add some lubricant. The first place you want to do this is under the bobbin. Use a single drop of oil in the center.
You might be wondering if this process is necessary for self-lubricating sewing machines. The reason machines can be self-lubricating is that they use Teflon coatings on many of the moving parts. While Teflon certainly reduces friction, sewing machine oil does a much better job and will help parts last longer than with Teflon alone.
When in doubt, consulting with an experienced sewing machine repair professional is always a good idea.
Lubricating All Moving Parts
The interior moving parts of your sewing machine are important as well. Remove the case on your machine to expose these parts so that you can lubricate them, too. Remember to clean first! Use your nylon brush to remove any dust or debris you find, though there shouldn’t be as much as those on the outside since these parts are well-isolated.
All moving metal parts will require oil, including the needle bar, the bobbin winder shaft, the rotating top shaft, feed cams, and other such parts. Keep in mind that some parts shouldn’t have oil on them, particularly the belts. Belts depend on a consistent amount of friction to function properly, and introducing oil will cause them to slip.
Use a small amount of oil for each part. A single drop in each location will be plenty. If you’re unsure about which areas need lubricant, you can rotate the hand wheel to see which parts move. You’ll need to rotate it regardless to ensure the oil works its way in.
Final Cleaning and Testing
Once you’ve oiled all the parts, use a lint-free cloth to wipe away any dripping or excess oil. Wipe up any oil on the body or case as well. After you put your machine back together, do a test with a spare piece of fabric to make sure the lubricant isn’t dripping out. You don’t want oil to stain your sewing projects!
Turn to GoldStar Tool for Your Sewing Machine Oil Needs
Keep your sewing machine running like new with GoldStar Tool! We have the perfect oil for lubricating your sewing machine’s moving parts and helping it last for years to come. For more tips and advice or help finding the right oil for you, contact us today.


