Easy Easter Basket Tutorial
2021-03-11
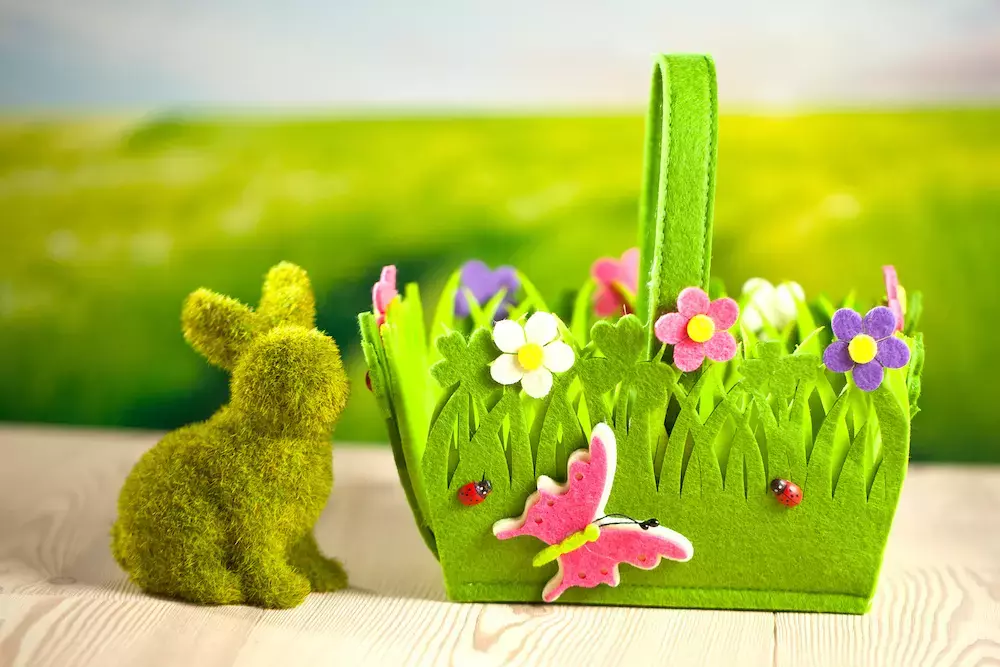
What is more adorable than an Easter basket? A homemade easter basket that can serve as a functional basket all year round, that’s what! You can make these baskets in three different sizes, and they serve best as that early morning Easter surprise!
Start by selecting your size!
Small baskets measure 5 x 5.5” when complete.
- Cutting dimensions for a small basket: 11” x 9” with fusible interfacing cut to 10” x 8.”
Medium baskets measure 7 x 5.5” when complete.
- Cutting dimensions for a medium basket: 15” x 12” with fusible interfacing cut to 14” x 11.”
Large baskets measure 10.5” x 12” when complete.
- Cutting dimensions for a large basket: 22” x 18” with fusible interfacing cut to 21” x 17.”
Then bring together all your materials:
- Outer fabric
- Inner fabric for lining
- Fusible fleece
- Stiff fusible interfacing
Step One: Cutting Your Materials
Cutting the materials will call for quite a bit of time. First, reference the size of the basket you want to create and use those cutting dimensions. Second, bring all of your materials together because it’s much easier to cut one piece after another than trying to do everything else in parts.
Cur your fabric and your fusible interfacing to the cutting dimensions mentioned on the sizing above. The interfacing is a bit smaller to help keep the seams tidy. At this stage, you’re cutting your outer and inner fabric as well as the fusible fleece and interfacing.
You should produce:
- 2 outer squares
- 2 inner squares
- 4 fusible interfacing pieces
After cutting out your fabric squares, you’ll need to trim the corners. You’ll create boxed corners for these baskets, which seems more difficult than it is, so don’t stress.
Cut the bottom right and bottom left corners of both the inner and outer fabrics according to the following sizes:
- Small baskets - Cut 2.5” x 2.5” squares
- Medium baskets - Cut 3.5” x 3.5” squares
- Large baskets - Cut 5.25” x 5.25” squares.
Although the fusible interfacing was initially cut smaller than the fabric pieces, you’re going to cut the same corner squares. Also, cut the stiff fusible fleece.
Step Two: Fuse Away
Line and set up your pieces of sewing by fusing the fabrics together first. The basket will be more of a tote bag if you skip this step.
If you haven’t used fusible interfacing before, prepare to have your crafting habits changed. On the wrong side of the lining pieces, layer the fabric, fusible interfacing, and the stiff fusible fleece. Repeat for the outer pieces.
Press the layers together by pressing against the fabric side, not the fleece side. The fleece doesn’t respond well to heat.
Step Three: Most of the Sewing Work
Use a 1/2-inch seam allowance, sew the inner and outer layers together by sewing the “top” together. Keep in mind that the cut corners mark the bottom of the basket.
Special note: if you’re adding handles, then this would be the time! Handles are super easy to make. You simply take the same fabric or the lining fabric and cut two pieces at 4” x 10 “ and sew them closed separately. Before sewing the tops of each side together, pin the straps into place.
Fold the project so that the right sides are touching. Then sew around the project, but leave the corners and inches along the bottom to turn the project.
Step Four: Making Your Box Corners
A lot of people feel a bit intimidated by box corners, but they’re pretty easy to manage. Before turning the project, you’ll want to “squish” the corners so that the sewed section of the side and the sewed section of the bottom touch and the corners are flat but open.
Stitch across the folded diagonal with a 1/2" seam allowance and backstitch.
Step Five: Finish Your Basket
Turn the project and use a chopstick or pen to push the corners out. Stitch up the hole that you used for turning, and then give the project a nice press. Now you have wonderful Easter baskets!
GoldStar Tool
Our Easter Basket tutorial is one of our favorites yet! It’s a great way to bond with your family and make something special! If you tried this tutorial, tag us on Instagram! If you would like to purchase any products, feel free to visit us online or contact us with any questions!


