DIY Reusable Grocery Bag
2019-04-07
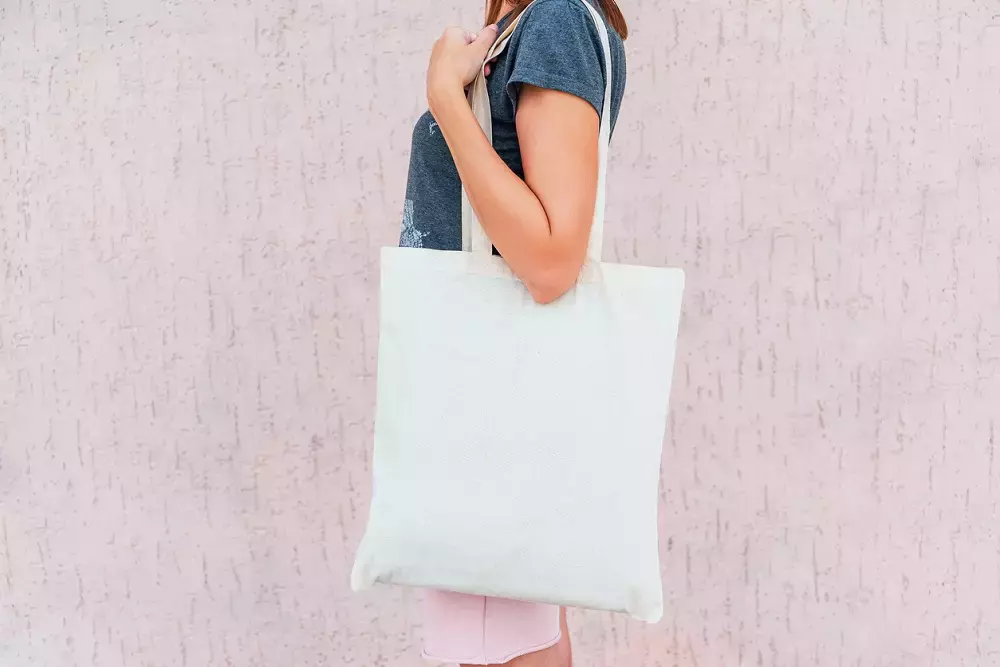
All across the country, grocery stores are encouraging customers to reduce the use of plastic bags. Be part of the change to reduce plastic waste and design your own DIY reusable grocery bag instead! These easy to sew and eco-friendly bags can hold a lot of groceries, withstand years of use and look fantastic too!
Step One: Gather Your Materials
Feel free to use any scraps for this project, but if you want a clean and bold print with a classic single-color lining, head to the fabric store!
Gather all of these materials:
- 1 yard – Durable fabric
- 1 yard – Cotton lining
- Thread
- 4-feet – 1” wide cotton webbing
- Ruler
- Rotary cutter
- Cutting Mat
- Pins
- Sewing Machine
When you’re working with sewing notions, always opt for the notions that will benefit more than one project. Rotary cutters or even rotary cutters with decorative edges are great for any sewing box!
Step Two: Cut and Mark Your Fabric
Because you're probably working with denim or canvas, you can have some peace of mind knowing that your marking is easy to erase or wash out.
Cut:
- 2 – 24” pieces of cotton webbing
- 2 – 15”x8” pieces of the outer and lining fabric.
- 2 – 37”x14” pieces of outer and lining fabric.
- 2- 4” wide and cut to a comfortable strap length (consider the seam allowance)
Mark:
- Center of each 37” cut piece.
- Center of each 8” cut piece.
Step Three: Sew the Bag’s Sides
The first step is to sew the sides of the bag. Pin the right sides (printed sides) of the fabric together and line up the center markings.
Pin, and then sew the sides and the bottom of the bag with a 3/8” seam allowance. For added strength, backstitch in the corners.
You'll want to do the same process again with the lining fabric, and you should have two distinctively bag-shaped pieces.
Finally, trim the corners down, so there's no bulk!
Step Four: Finish Your Seams
To get all the life out of your bag and to have a project feel slightly closer to perfect, you'll want to seam finish the outer bag pieces. Finishing the seams will keep these edges from fraying. Use either a serger, sealant or pinking shears. Then, press the seams!
Step Five: Attach Your Straps
About 3 inches into each side of the bag you’ll need to pin the strap in place. Pin the strap into place with 1” sticking out past the end of the bag. Then sew the straps into place by stitching across them three or four times.
Step Six: Complete the Lining
Start by turning the exterior of the bag inside out, and then pin the lining into place “right-side” out. Sew the bag and lining together. Give your bag a 3/8” seam allowance and leave about 5’’ open to turn the bag.
Finish the seams and then turn the fabric through the opening.
Step Seven: Top Stitch and Finishing
As you pull the lining into the bag, you'll want to press the top seam. Pressing this seam will open it fully and ensure that your seam allowance is even. Pin the top and topstitch with a 1/8" seam. Sew a rectangle with an "x" over each strap to give your straps extra stability!
Now you have a fantastic new, and reusable grocery bag that won't look like anything you could find in a store!
Before you get started any project be sure that you have all the sewing notions you could need! Check out Gold Star Tool where you can order anything for your sewing projects online.


