DIY – How to Sew a Pet Kennel Quilt from Fabric Scraps
2020-03-10
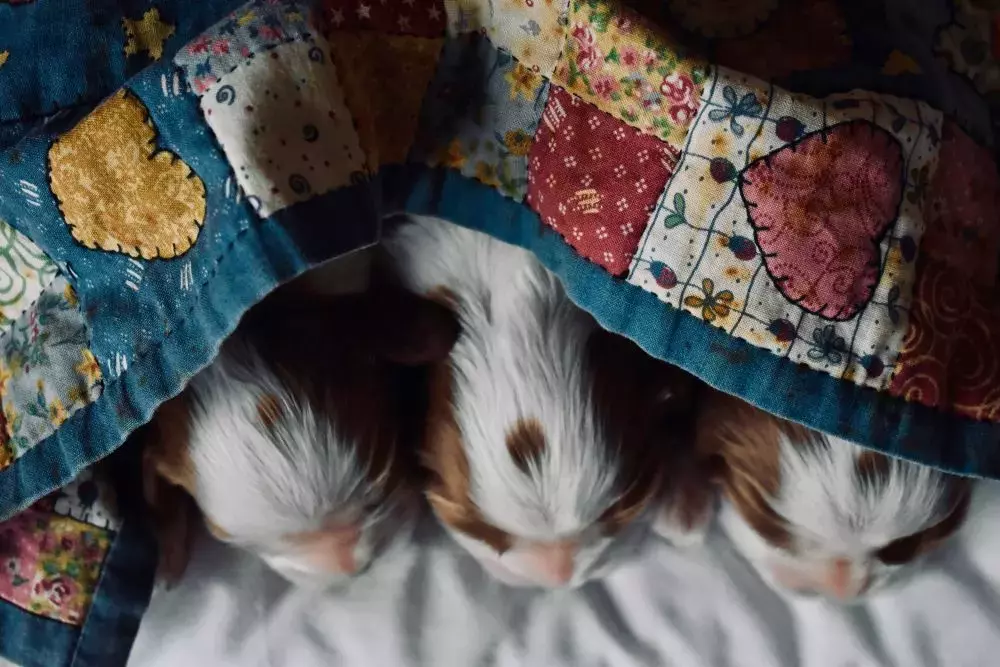
Although spring seems to have rolled in along the sunny west coast, many other areas are still facing regular winter chills. Unfortunately, it's our pets or fur babies that take the worst of it overnight in their kennels, or even during traveling because they can’t bundle up. With a warm and comforting kennel quilt, you can rest easy knowing they're comfortable in their kennel.
The great thing about DIY kennel quilts is that you either can use them or donate them. This pattern should measure up to about 18-inches by 12-inches, fitting perfectly into most crates.
Materials:
Getting your materials together can be done pretty easily:
- Use 4 fat quarters or fabric scraps from your stash
- Batting cut to 12 1/2-inch by 18 1/2-inch
- Thread
- Sewing machine
- Patchwork foot
- Walking foot
- Scissors or rotary cutter, and mat
- Iron
- Ironing board or pressing surface
Cutting the Quilt Pieces
Just like any quilt, you'll want to create a design pattern. These quilts are great for playing around with patterns, so have fun with it!
For this quilt, you’ll need to cut the pieces as such:
- 12 1/2-inch by 18 1/2-inch for the top section (can be a combination of smaller pieces of fabric for a patchwork)
- Backing cut to the same
- Batting cut to the same
Create Your Pattern
Patchwork patterns are excellent because they’re a chance to play around with basic shapes with fun patterns. Planning out your patchwork pattern is a basic math problem. Use the 12 1/2-inch by 18 1/2-inch outline and then create squares or strips that meet those dimensions. The half-inch allowance on each allows for the quarter-inch seam on the sides.
If you're new to patchwork, then try to keep the pieces down to four parts. When you work with fewer pieces, you'll quickly get a greater sense of accomplishment while still building your skills and confidence.
Sew Blocks Together
When working with blocks, you'll want to sew together the pieces that will complete one side first. For example, if your pattern is four even squares adding up to the dimensions, then you can grab any two that are meant to be next to each other and begin sewing them together.
Patchwork feet are excellent for this as you can also work with a seam guide. If you're new to quilting, it's a great way to start with a high level of confidence. After joining all of your pieces, you'll want to grab your iron and press your seams to one side.
Upon completing the quilt top and back, you can fit the sandwich of fabric together and use the envelope method to manage it quickly. That would involve sewing all the layers along inside out and then leaving a three or four-inch gap to turn it. When doing that, you would put the layers as so: first the batting, then the back right-side-up, and finally, the top right side down.
Remember, every project requires pinning or slipping to keep all these layers together. Small projects often tempt crafters to skip on some essential steps that lead to higher quality results.
Snip and Turn
After you’re done on your sewing machine, you’ll need to slip the corners, so the quilt lays flat when turned. As you turn, you can use a chopstick, or an unsharpened pencil to help push the corners all the way through. You can press the corners and along the seams to help solidify the shape of the kennel quilt.
Quilting
What's a quilt without quilting? A blanket, that's what. To finish your kennel quilt, you'll want to set up your machine for quilting, and that means pulling out your walking foot. For safety purposes, you should use the hover feature, which will pull the presser foot to the highest position, and stop with the needle downward. It's not only safer for your fingers, but also makes it much easier to pivot.
You can quickly achieve a lovely diamond quilting pattern to finalize this kennel quilt. Then you can start churning out many more of these easy little quilts!
Make them for your pets or contact your local animal shelter to find out if they accept kennel quilt donations!
For all your sewing supplies, check out GoldStar Tool for the latest in quilting, sewing, crafting and more!


