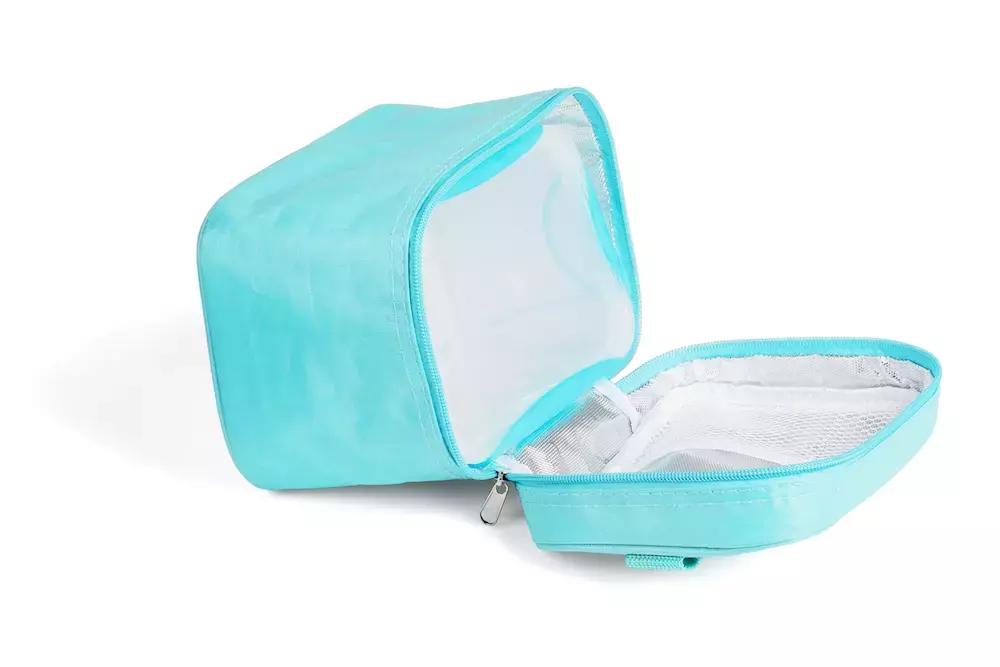
Back to School Series: Make Your Own Insulated Lunch Boxes for the Kids
2021-08-10
Heading back to school is an exciting time of year for the kids. Something is energizing about a fresh start in a new class. A big part of getting ready for it all is picking out supplies.
Unfortunately, the cost associated with new school year essentials can be less appealing than the idea of the return to the classroom. Among the many items needed to start the school year right, insulated lunch boxes can come with a surprisingly hefty price tag.
This year, why not consider skipping the store-bought version and create a DIY insulated lunch box instead? If you have a sewing machine at home, it’s simple to create a lunch box that keeps food cool or warm. Picking fun fabric means a lunch box can show off your child’s style too!
Materials You’ll Need
You truly don’t have to be an expert with a sewing machine to create an insulated lunch box that looks great and works well. To get started, be sure to grab the following items:
- Interior and exterior decorative fabric
- Spray adhesive
- Fabric glue
- Ruler
- Pellon Insul-Fleece
- Rotary cutter
- Iron
- Clips
- Velcro attachment pieces
- Sewing machine
Once your materials are gathering, you’re ready to start creating a one-of-a-kind insulated lunch box your kids will love!
Step-by-Step Instructions
1. Cut two pieces of outer layer decorative fabric measuring 16 inches by 13 inches each.
2. Cut two pieces of Pellon Insul-Fleece to match, each measuring 16 inches by 13 inches.
3. Position the insulation pieces on the table with the shiny side facing down.
4. Attach the cotton side of each outer layer of fabric to the insulation using an adhesive spray.
5. Head to the sewing machine and quilt stitch the two pieces together.
6. Cut the attached fabric pieces to size using a rotary cutter, so the rectangle measures 15.5 inches by 12.5 inches.
7. Mark the space 2-inches down and 2 inches in from the top edge with a fabric pen for the Velcro attachment.
8. Attach the Velcro to the fabric with fabric glue. One side of the fabric will hold the rough Velcro, and the other will hold the soft side of the Velcro.
9. Stitch around the Velcro once it’s glued on to secure the attachment in place.
10. Cut out two inner lining fabric pieces measuring 15.5 inches by 12.5 inches each.
11. Position a single piece of Velcro on the center of each lining piece and stitch it into
place.
With that, your insulated lunch box is ready to carry!
GoldStar Tool
A DIY insulated lunch box looks great, cuts down on supply costs, and is fun to carry! When you can’t wait to get started creating one, find all of the materials you’ll need at GoldStar Tool. Reach out today and be sure to share your finished product with us on Instagram or Facebook.


